Soldering an OpenTherm Gateway
Recently I had to buy a new Central Heater, I settled for a nice Atag E264C CW4, which supports the OpenTherm protocol.
The only downside I noticed once everything was installed, is that the OpenTherm bus can only support one device (afaik). Fortunately I found this awesome OpenTherm Gateway project, which serves as a man in the middle, and you can read out all the data which is passed along by the thermostat and the mainboard.
I ordered the unassambled USB kit, and after a few days in the mail, it finally arrived. Woohoo! Time for some soldering!
I alway start with the smallest parts, and move up from there. This way, you can easily reach all the small parts. Once you start putting in the big parts, the small parts will fill out when you flip the board. I’ll show you all the steps I took. You can see all the parts and layout on the OpenTherm project page
All the parts
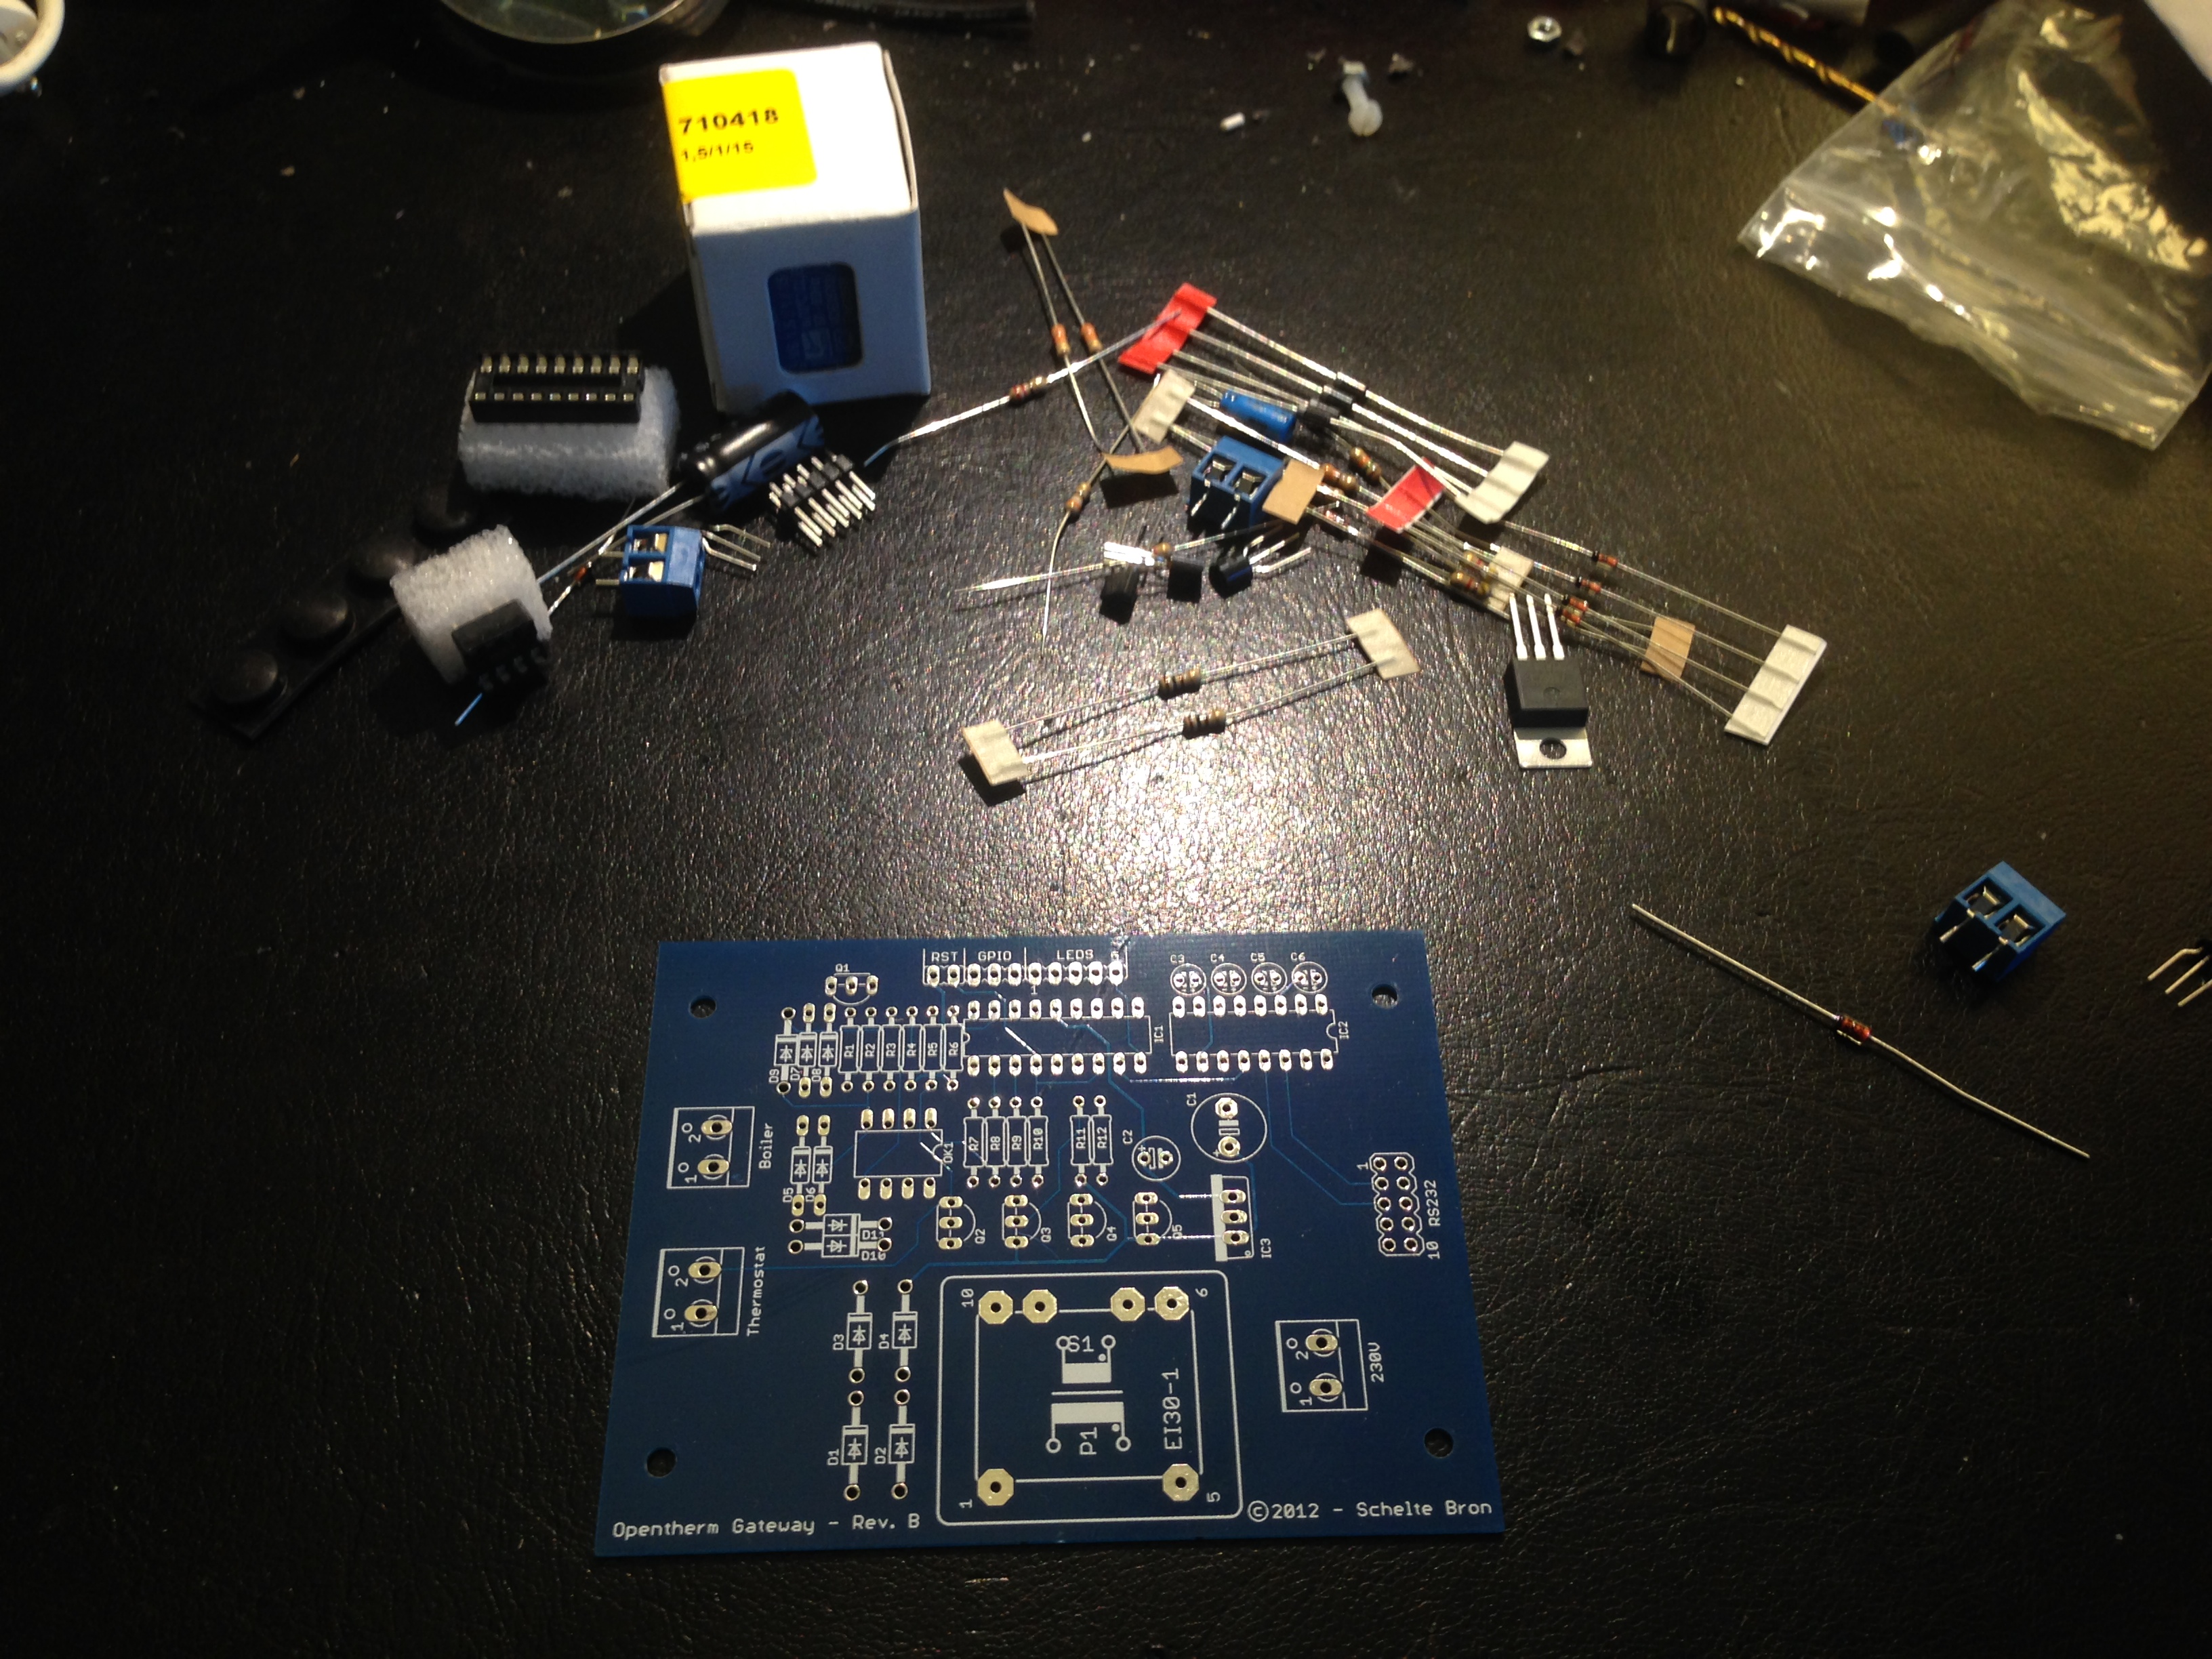
Ofcourse I forgot to take a picture of all the parts in nice order, but they’re all there. Resistors, voltage regulator, transformator, diode’s IC’s, the works.
Start with the Diodes

When you start soldering, push the part completely through and hold it into place. Fold both legs sideways. When you heat the pad with your soldering iron, the leg will warm up as well (don’t worry, all parts can get really hot, it won’t hurt them). When you gently push the solder agains the iron, and the solder will flow into the hole. Gently remove your iron, and blow a little (this will cool it faster, duh).
Snap
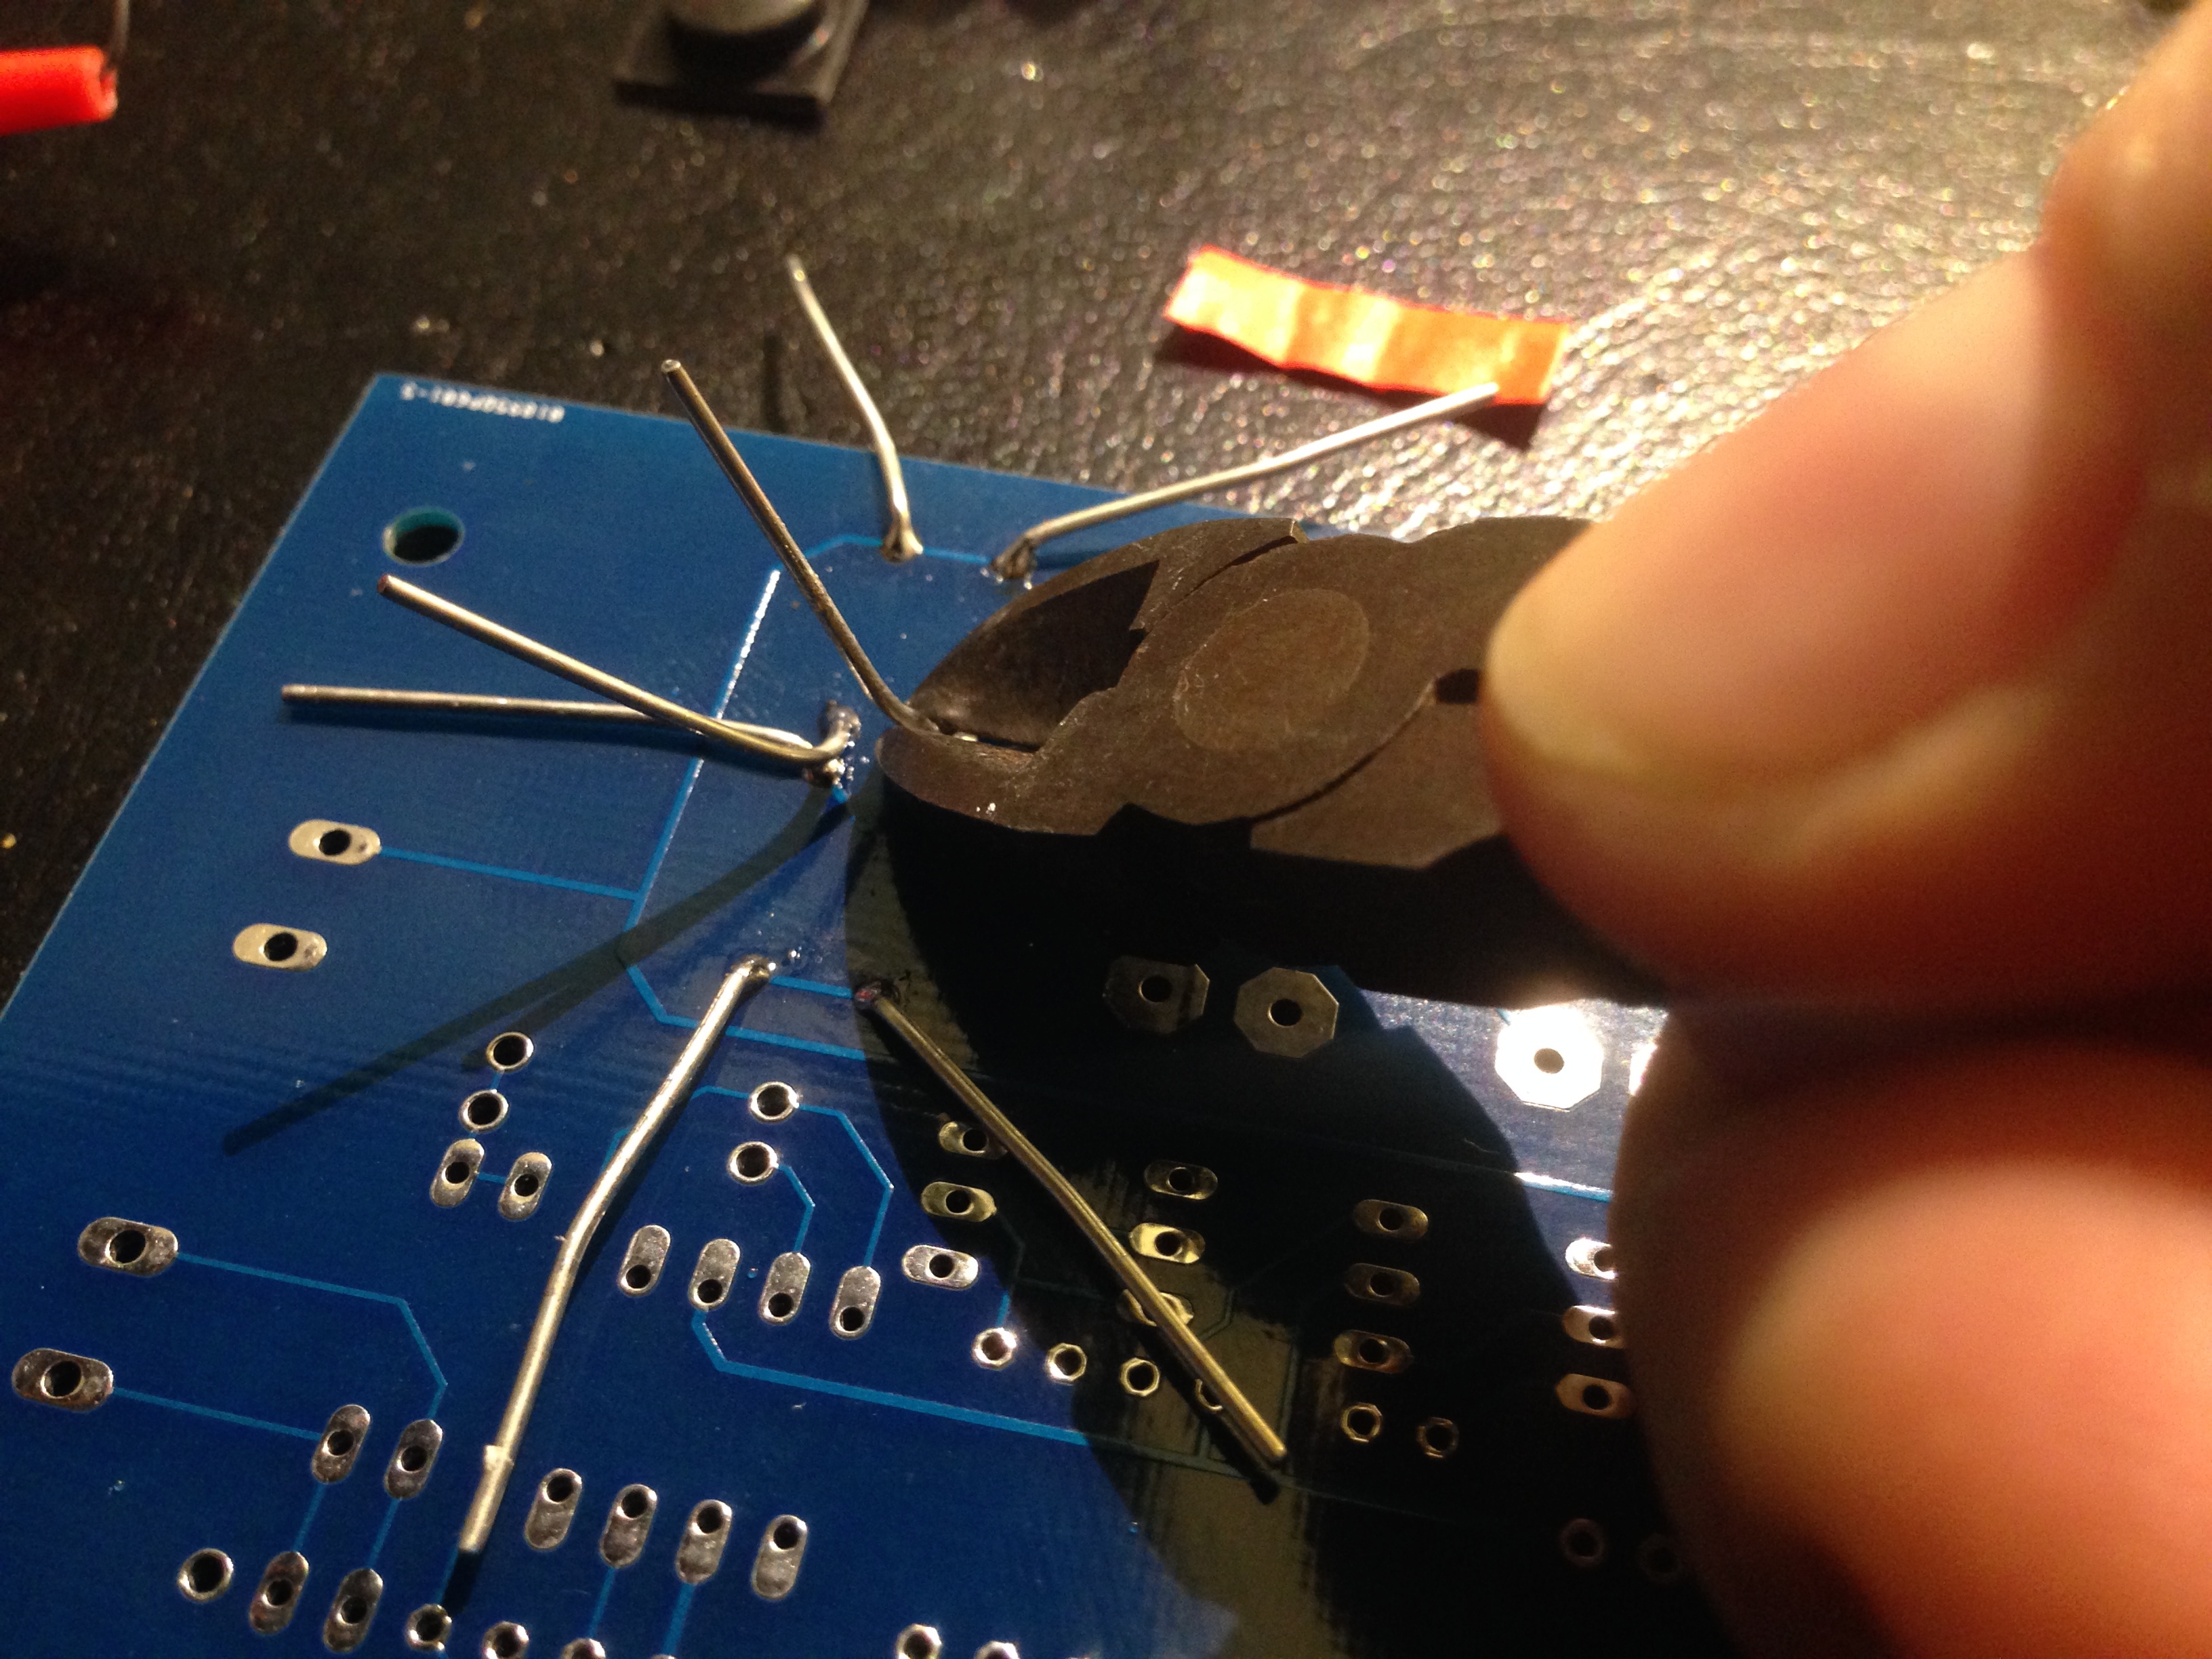
After you soldered both legs, cut the legs, snap! :D
Tiny parts are tiny!

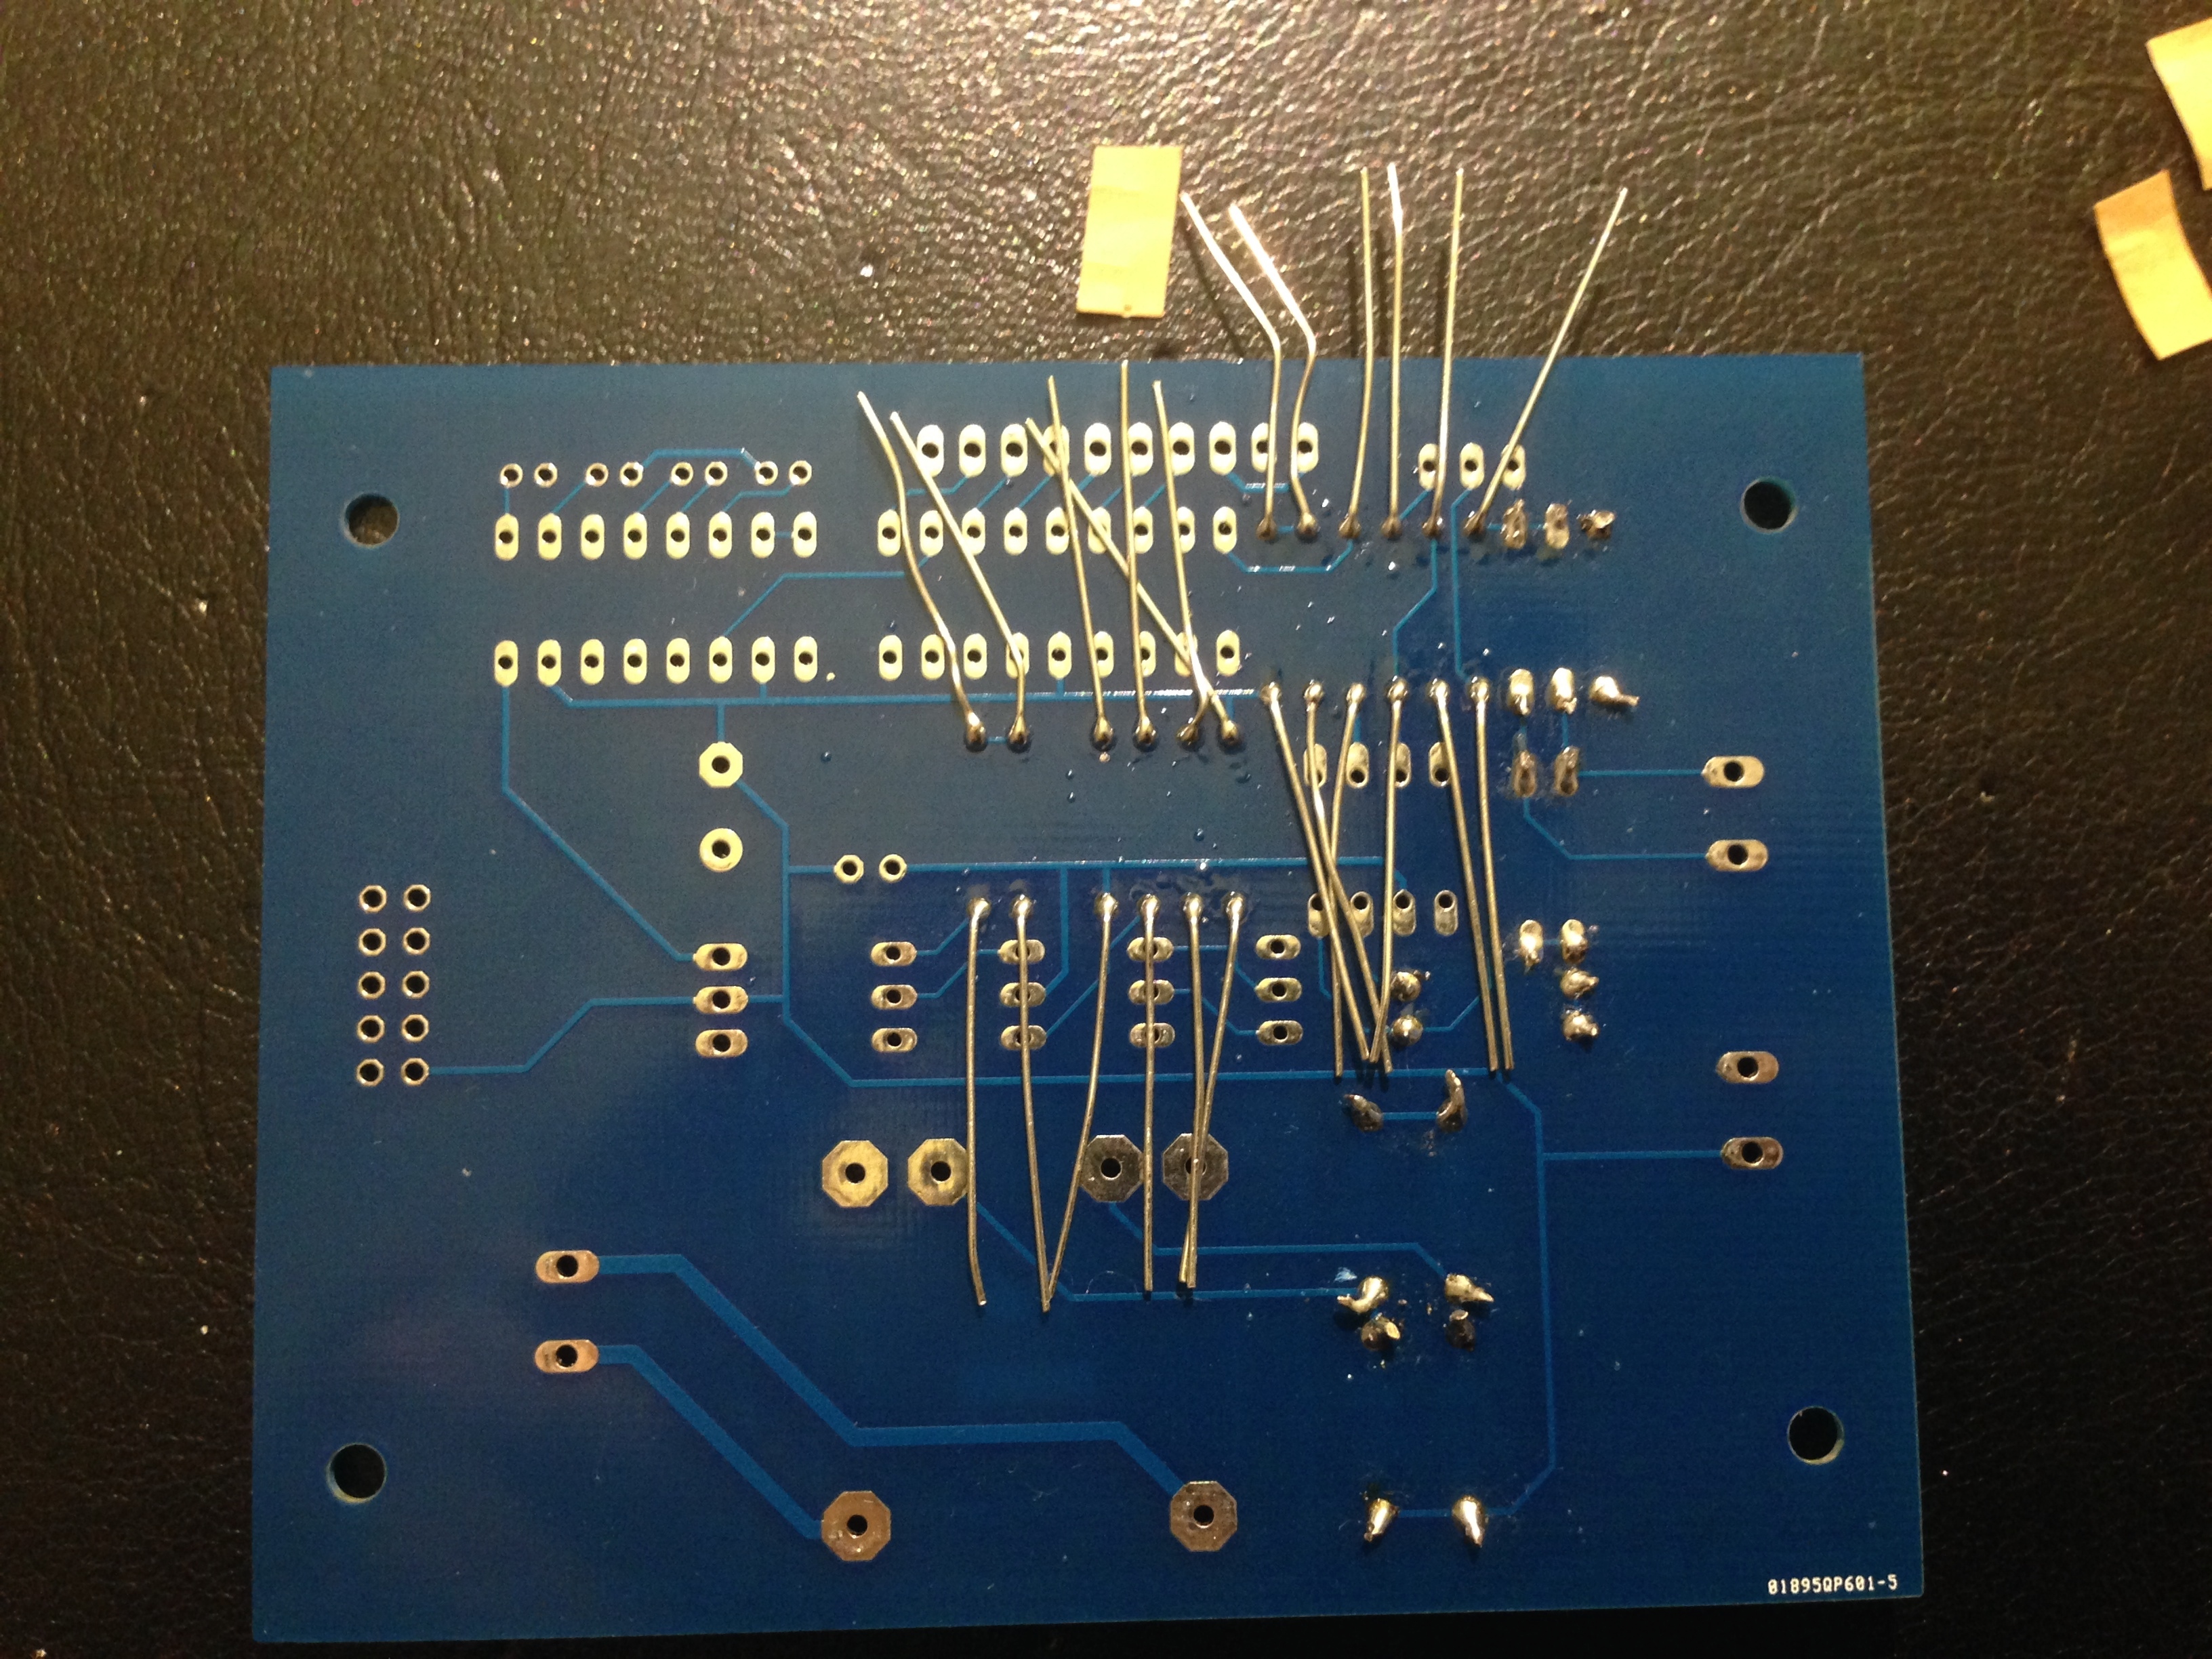
All the diodes in place

Resistors
Put all the resistors in in one go, this will save you a lot of time. Be sure to doublecheck all the different resistor values. You can calculate the resistor value by the color bands. You don’t have to worry about the way you put the parts in, a resistor doesn’t have any polarity.
I put all the gold bands on one side, looks nice, but doesn’t serve any other purpose :)
Oops!
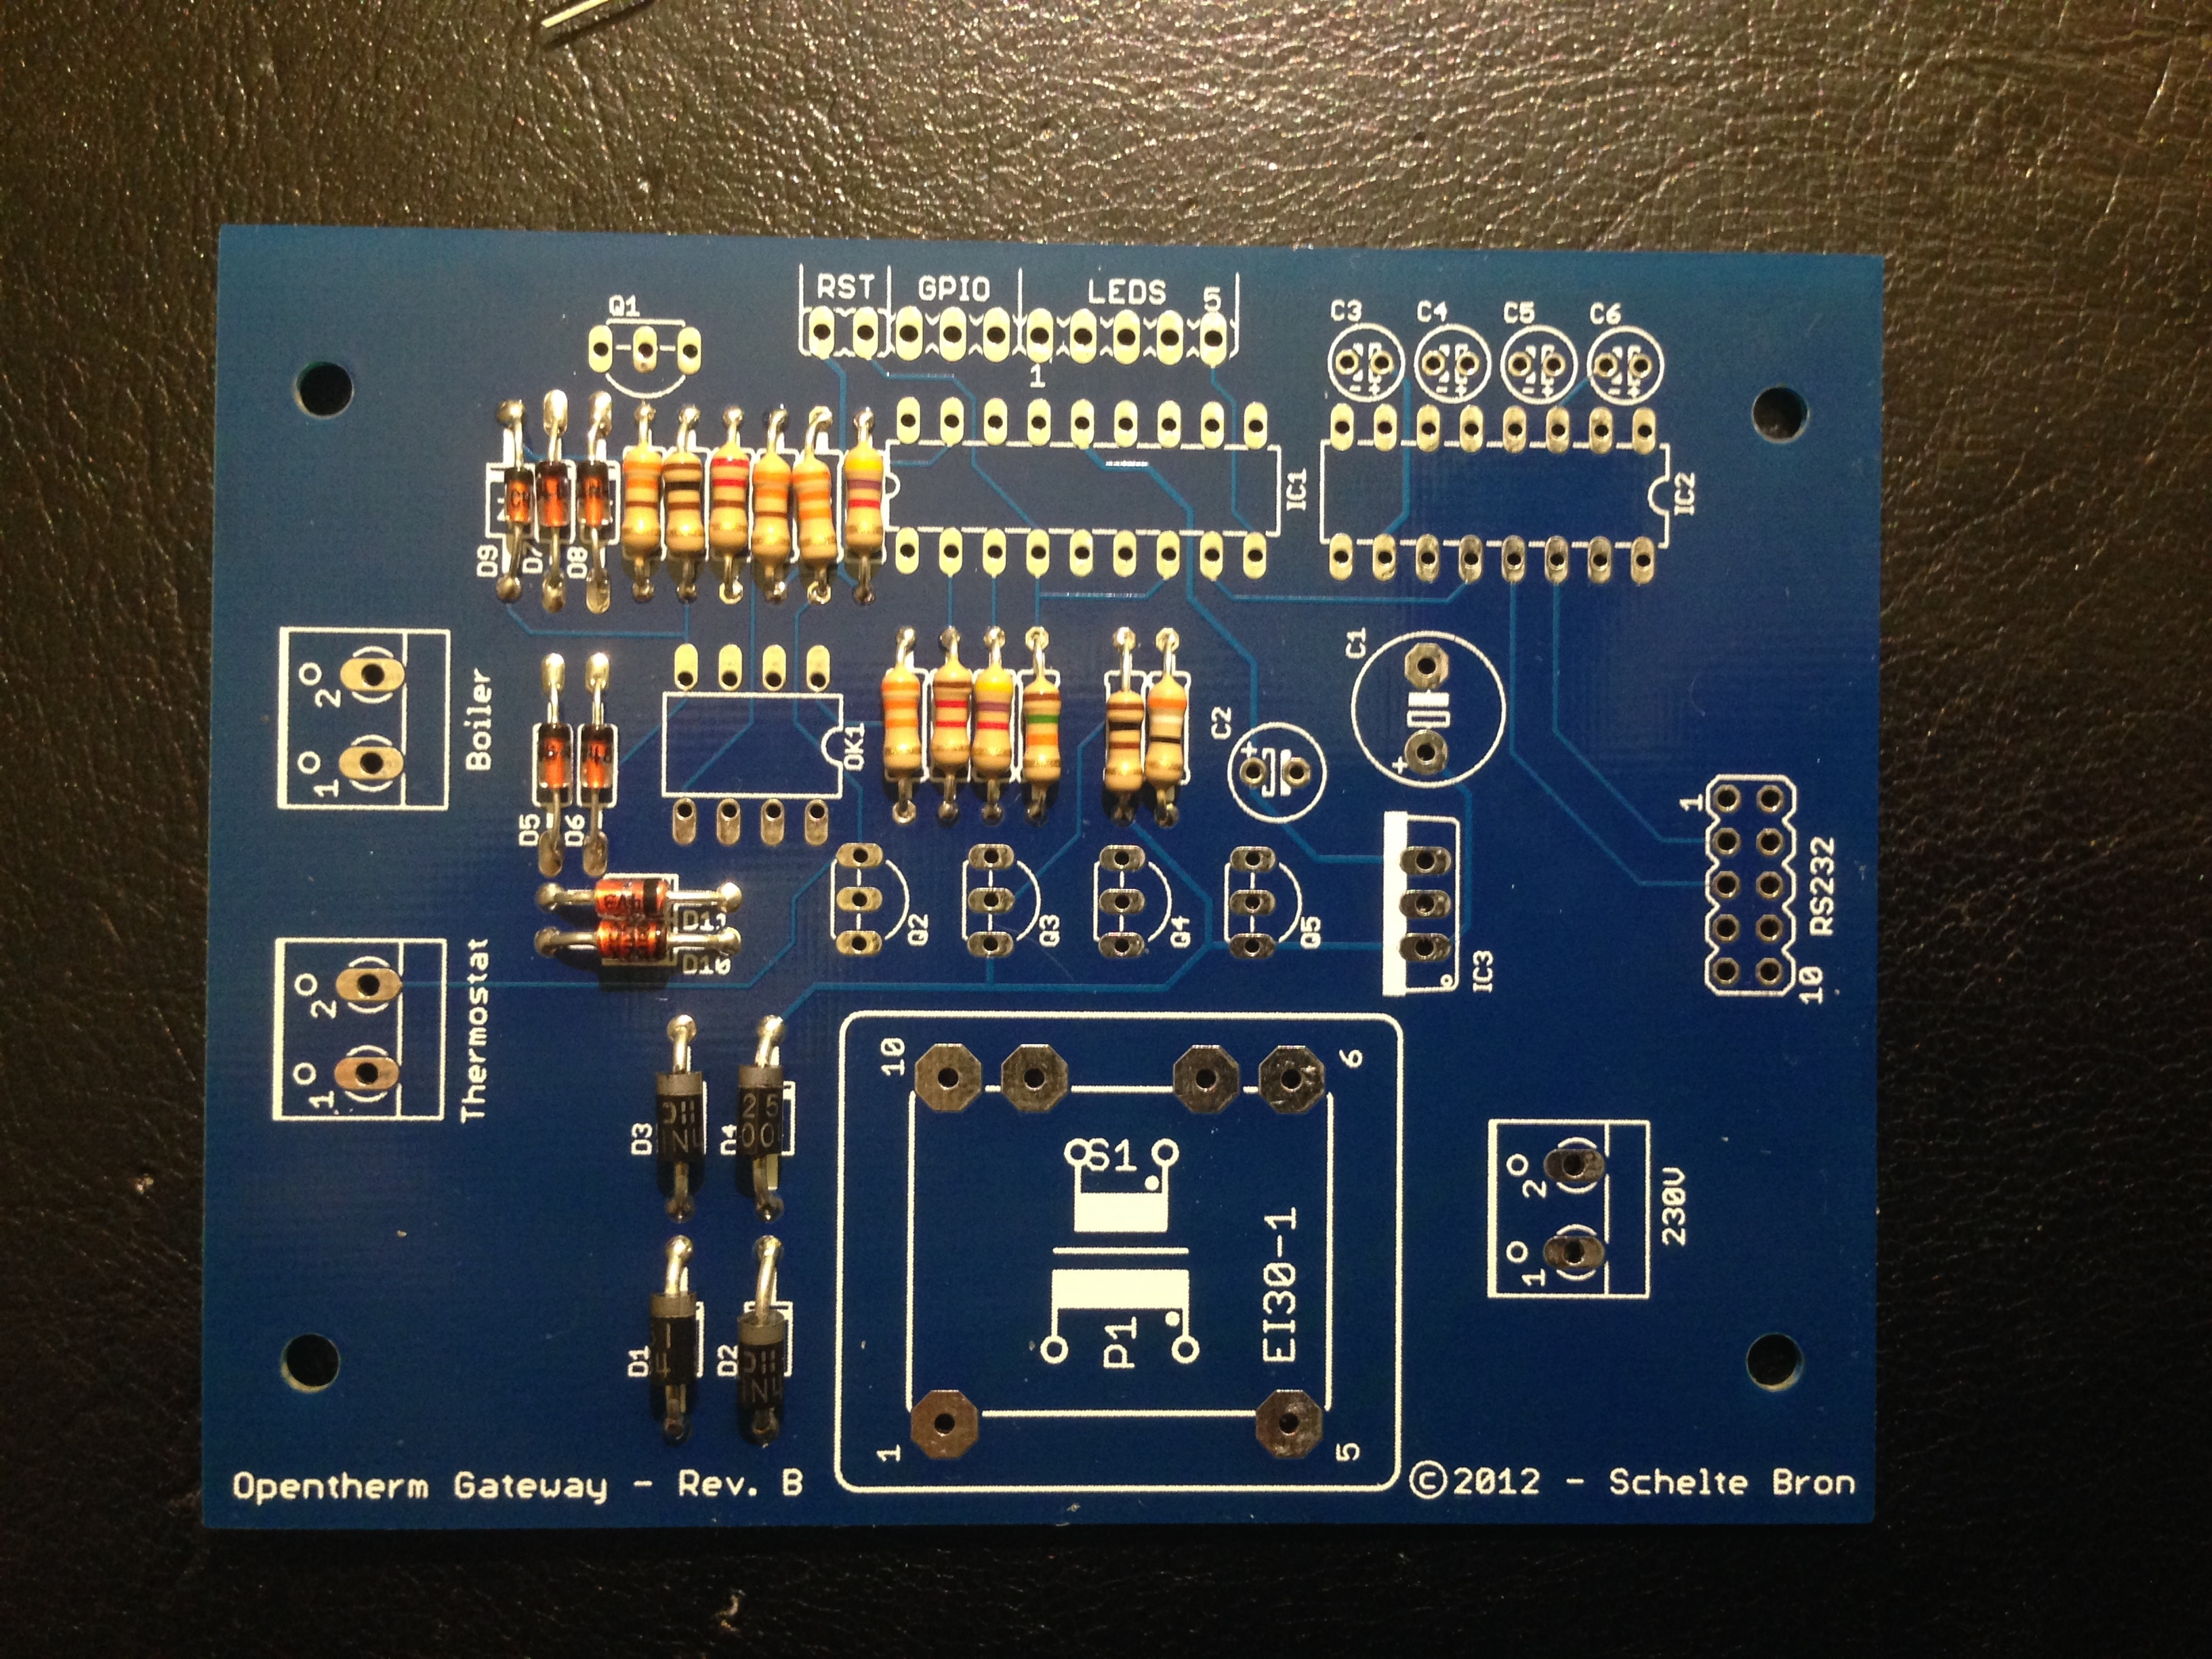
I made a booboo here, I thought I would just add the Capacitor, but it was way bigger than I figured. I diraafdn’t take it out, but don’t make the same mistake, put it in as last item. I also added the ic’s in this step. Watch for the notches in the IC holder. Notch is pin 1.
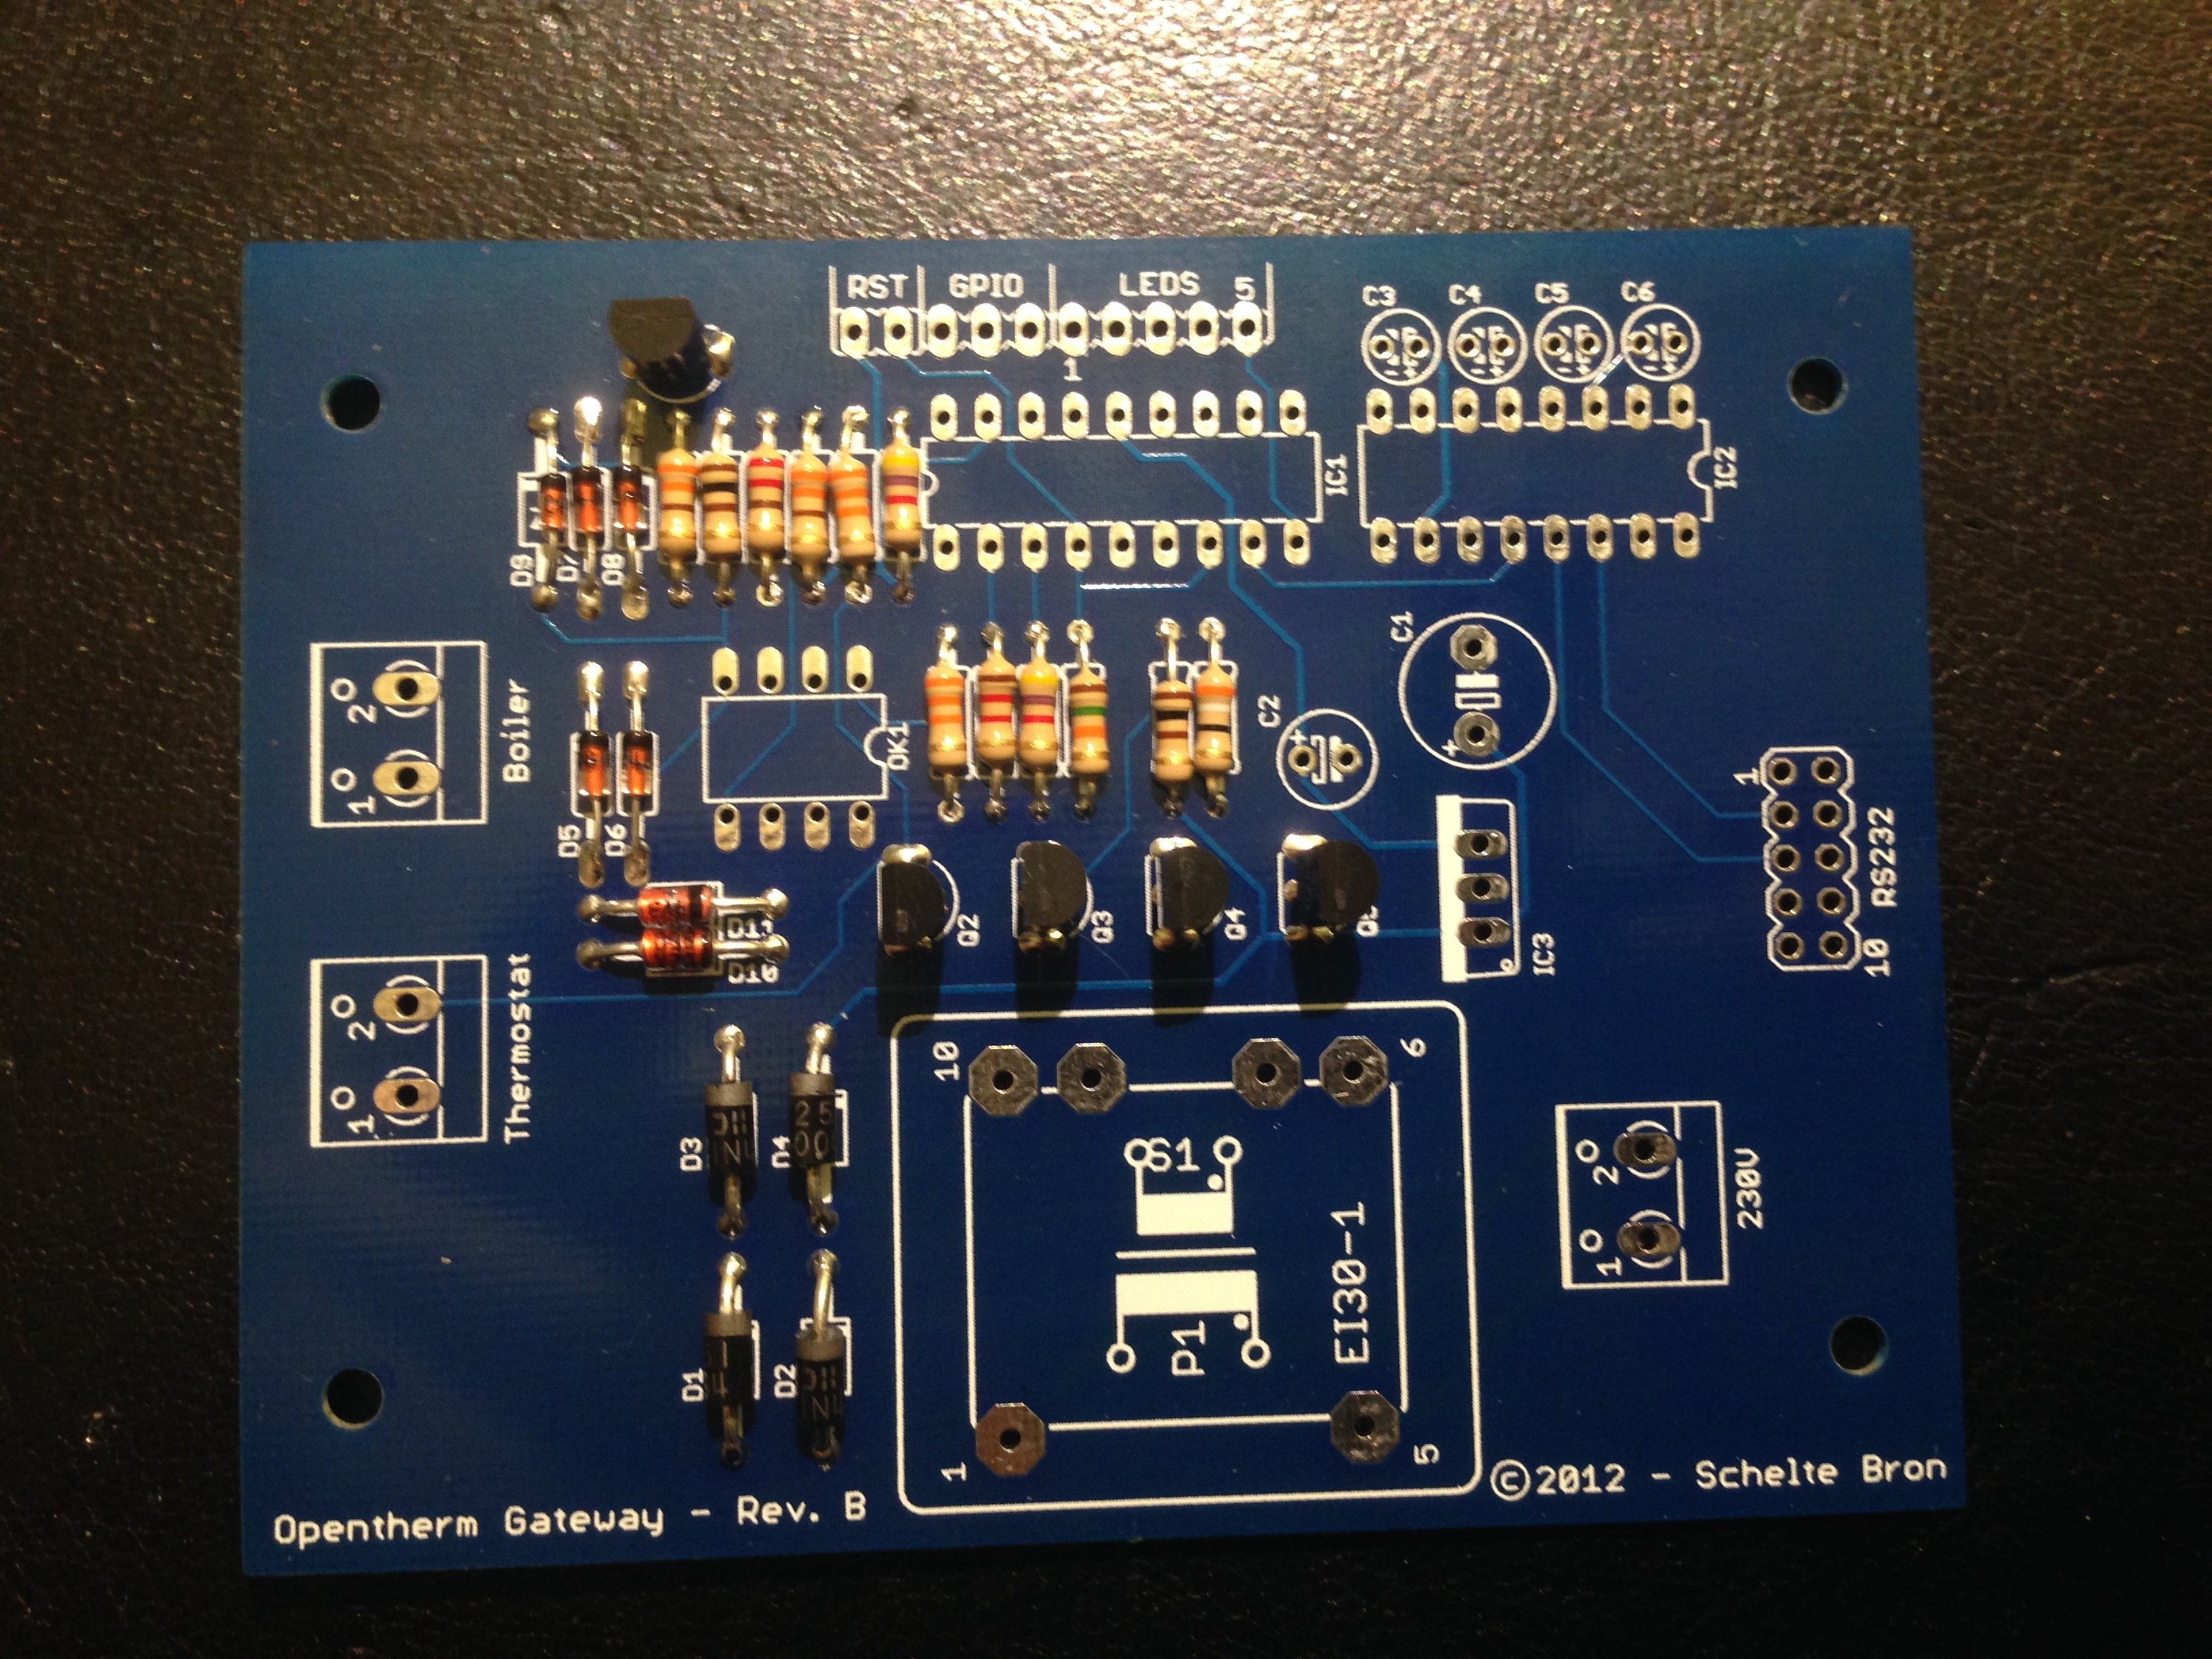
Everything in place
 As I ordered the USB version of the board, you’ll notice the top right IC (2) is empty. The central IC (1) already supports TTL values for the USB connection. You only need to solder in some patches to support the USB connection.
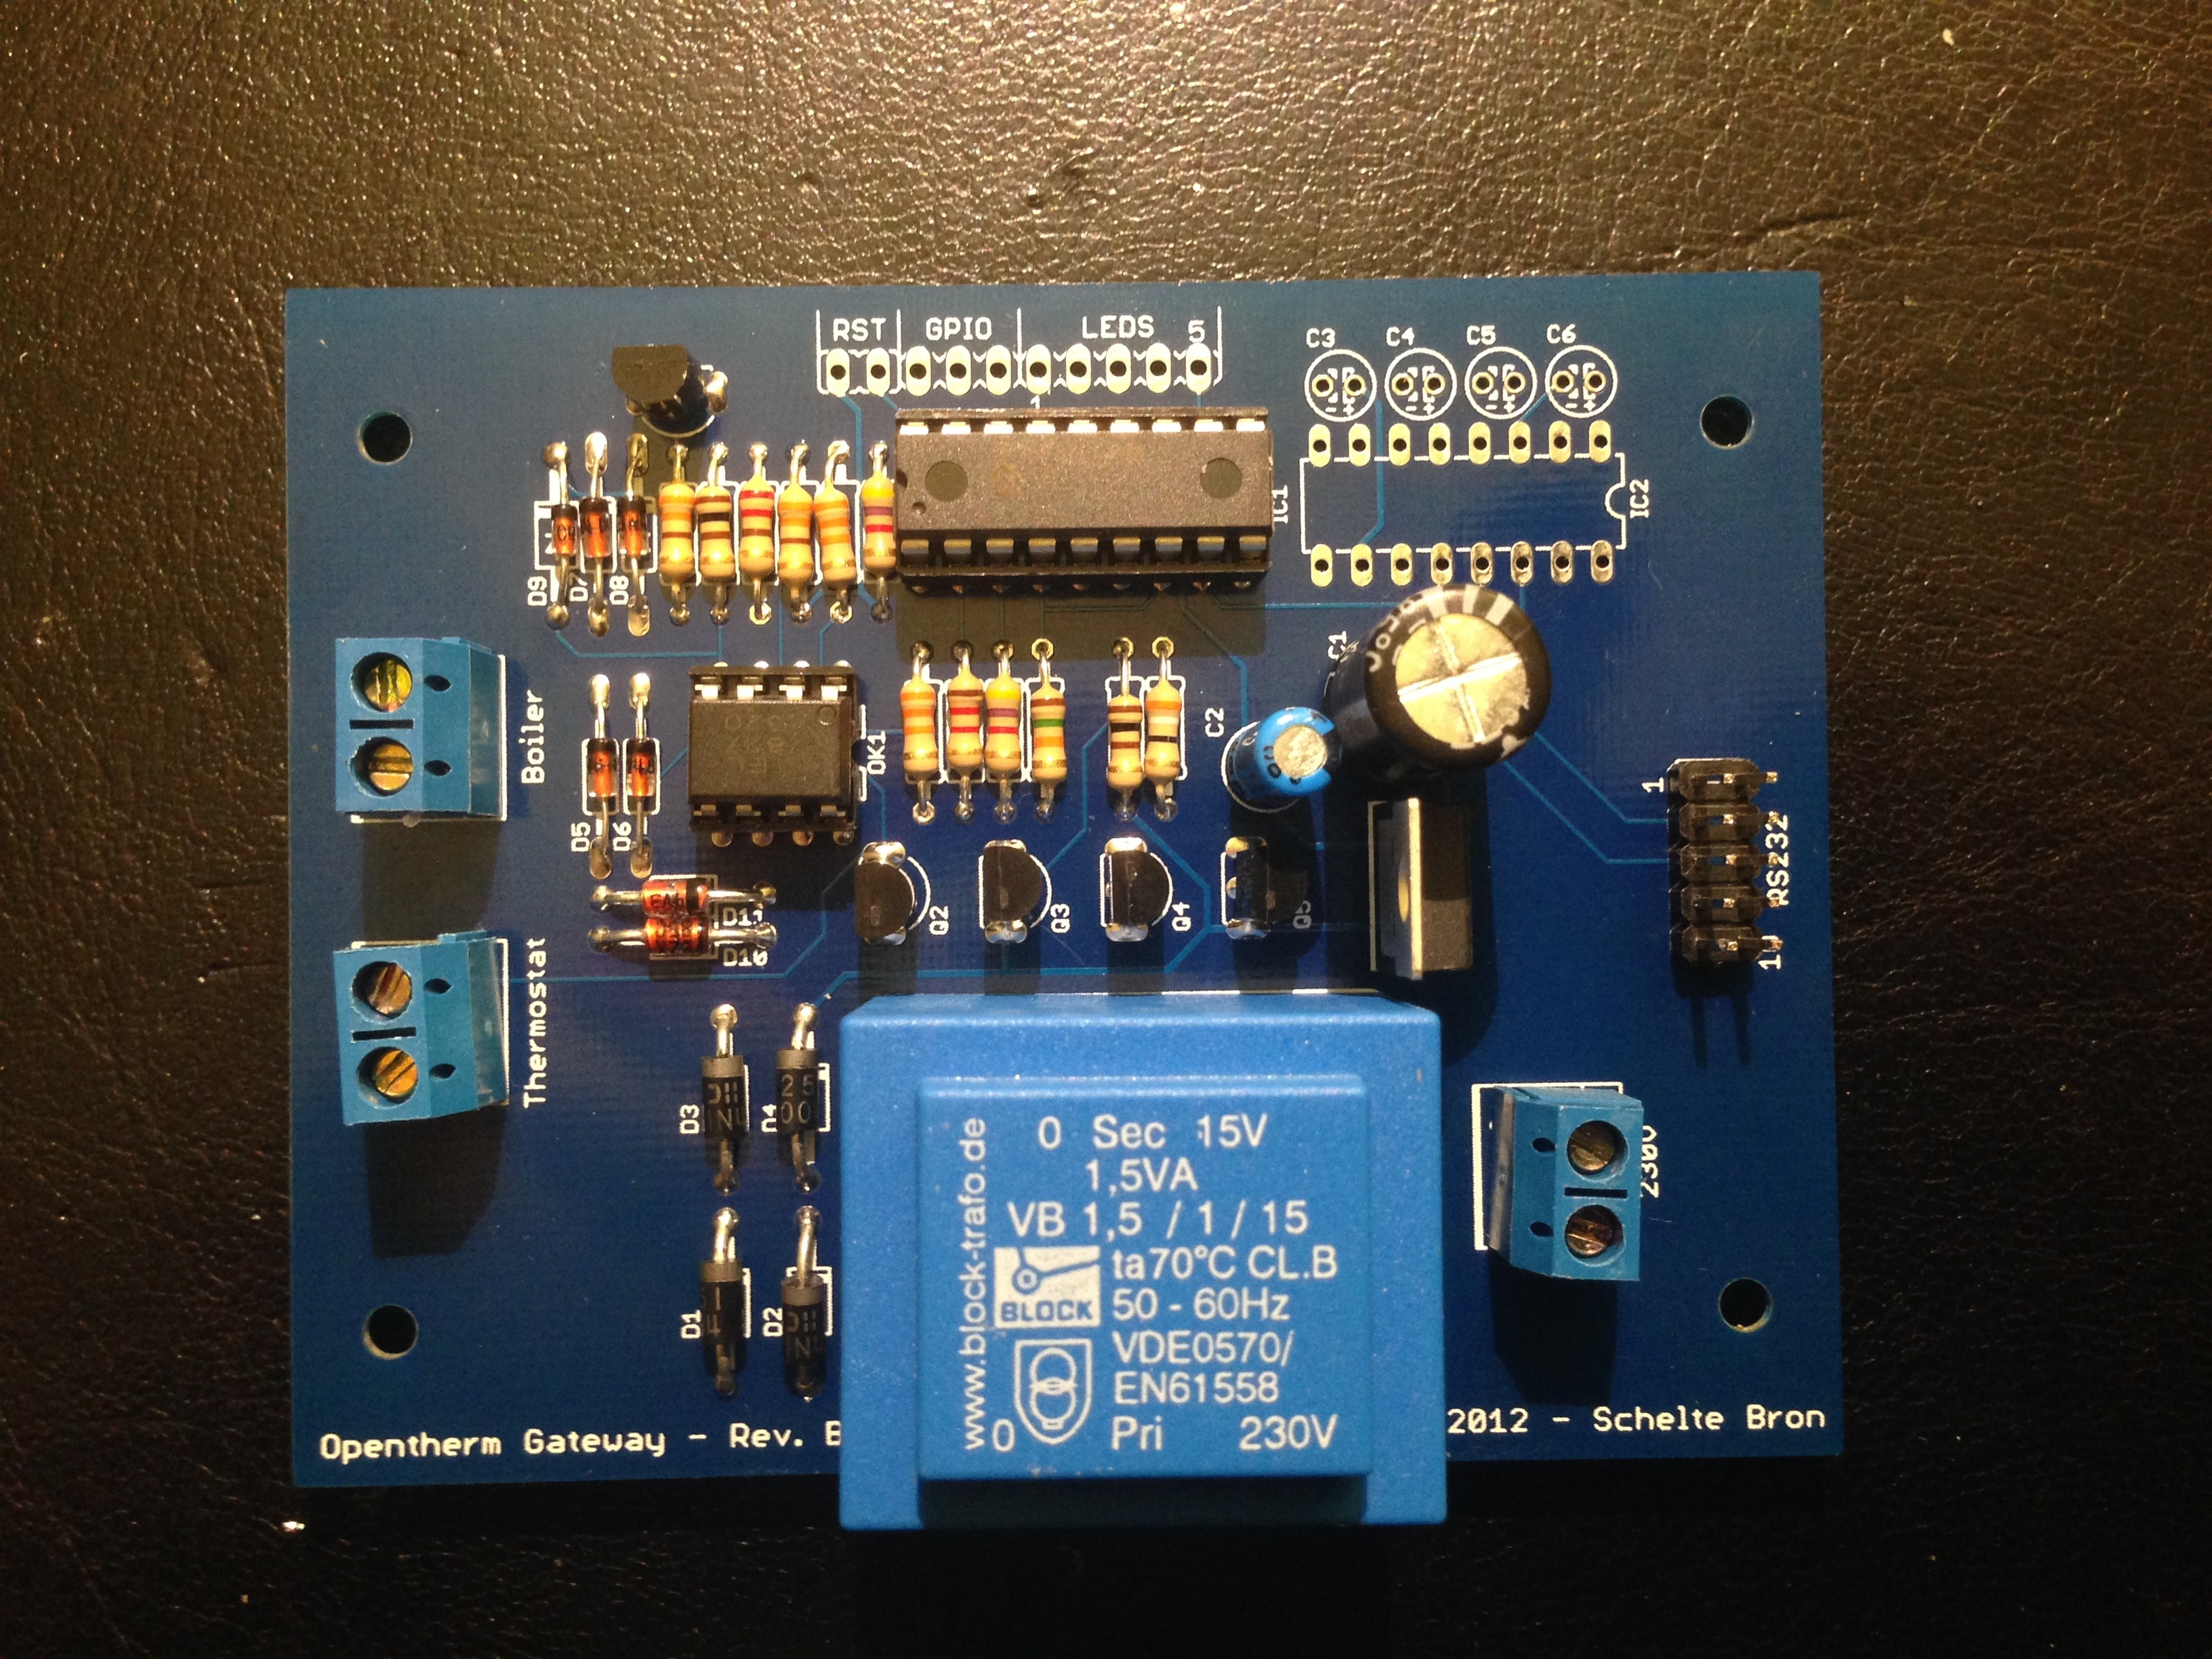
All done!
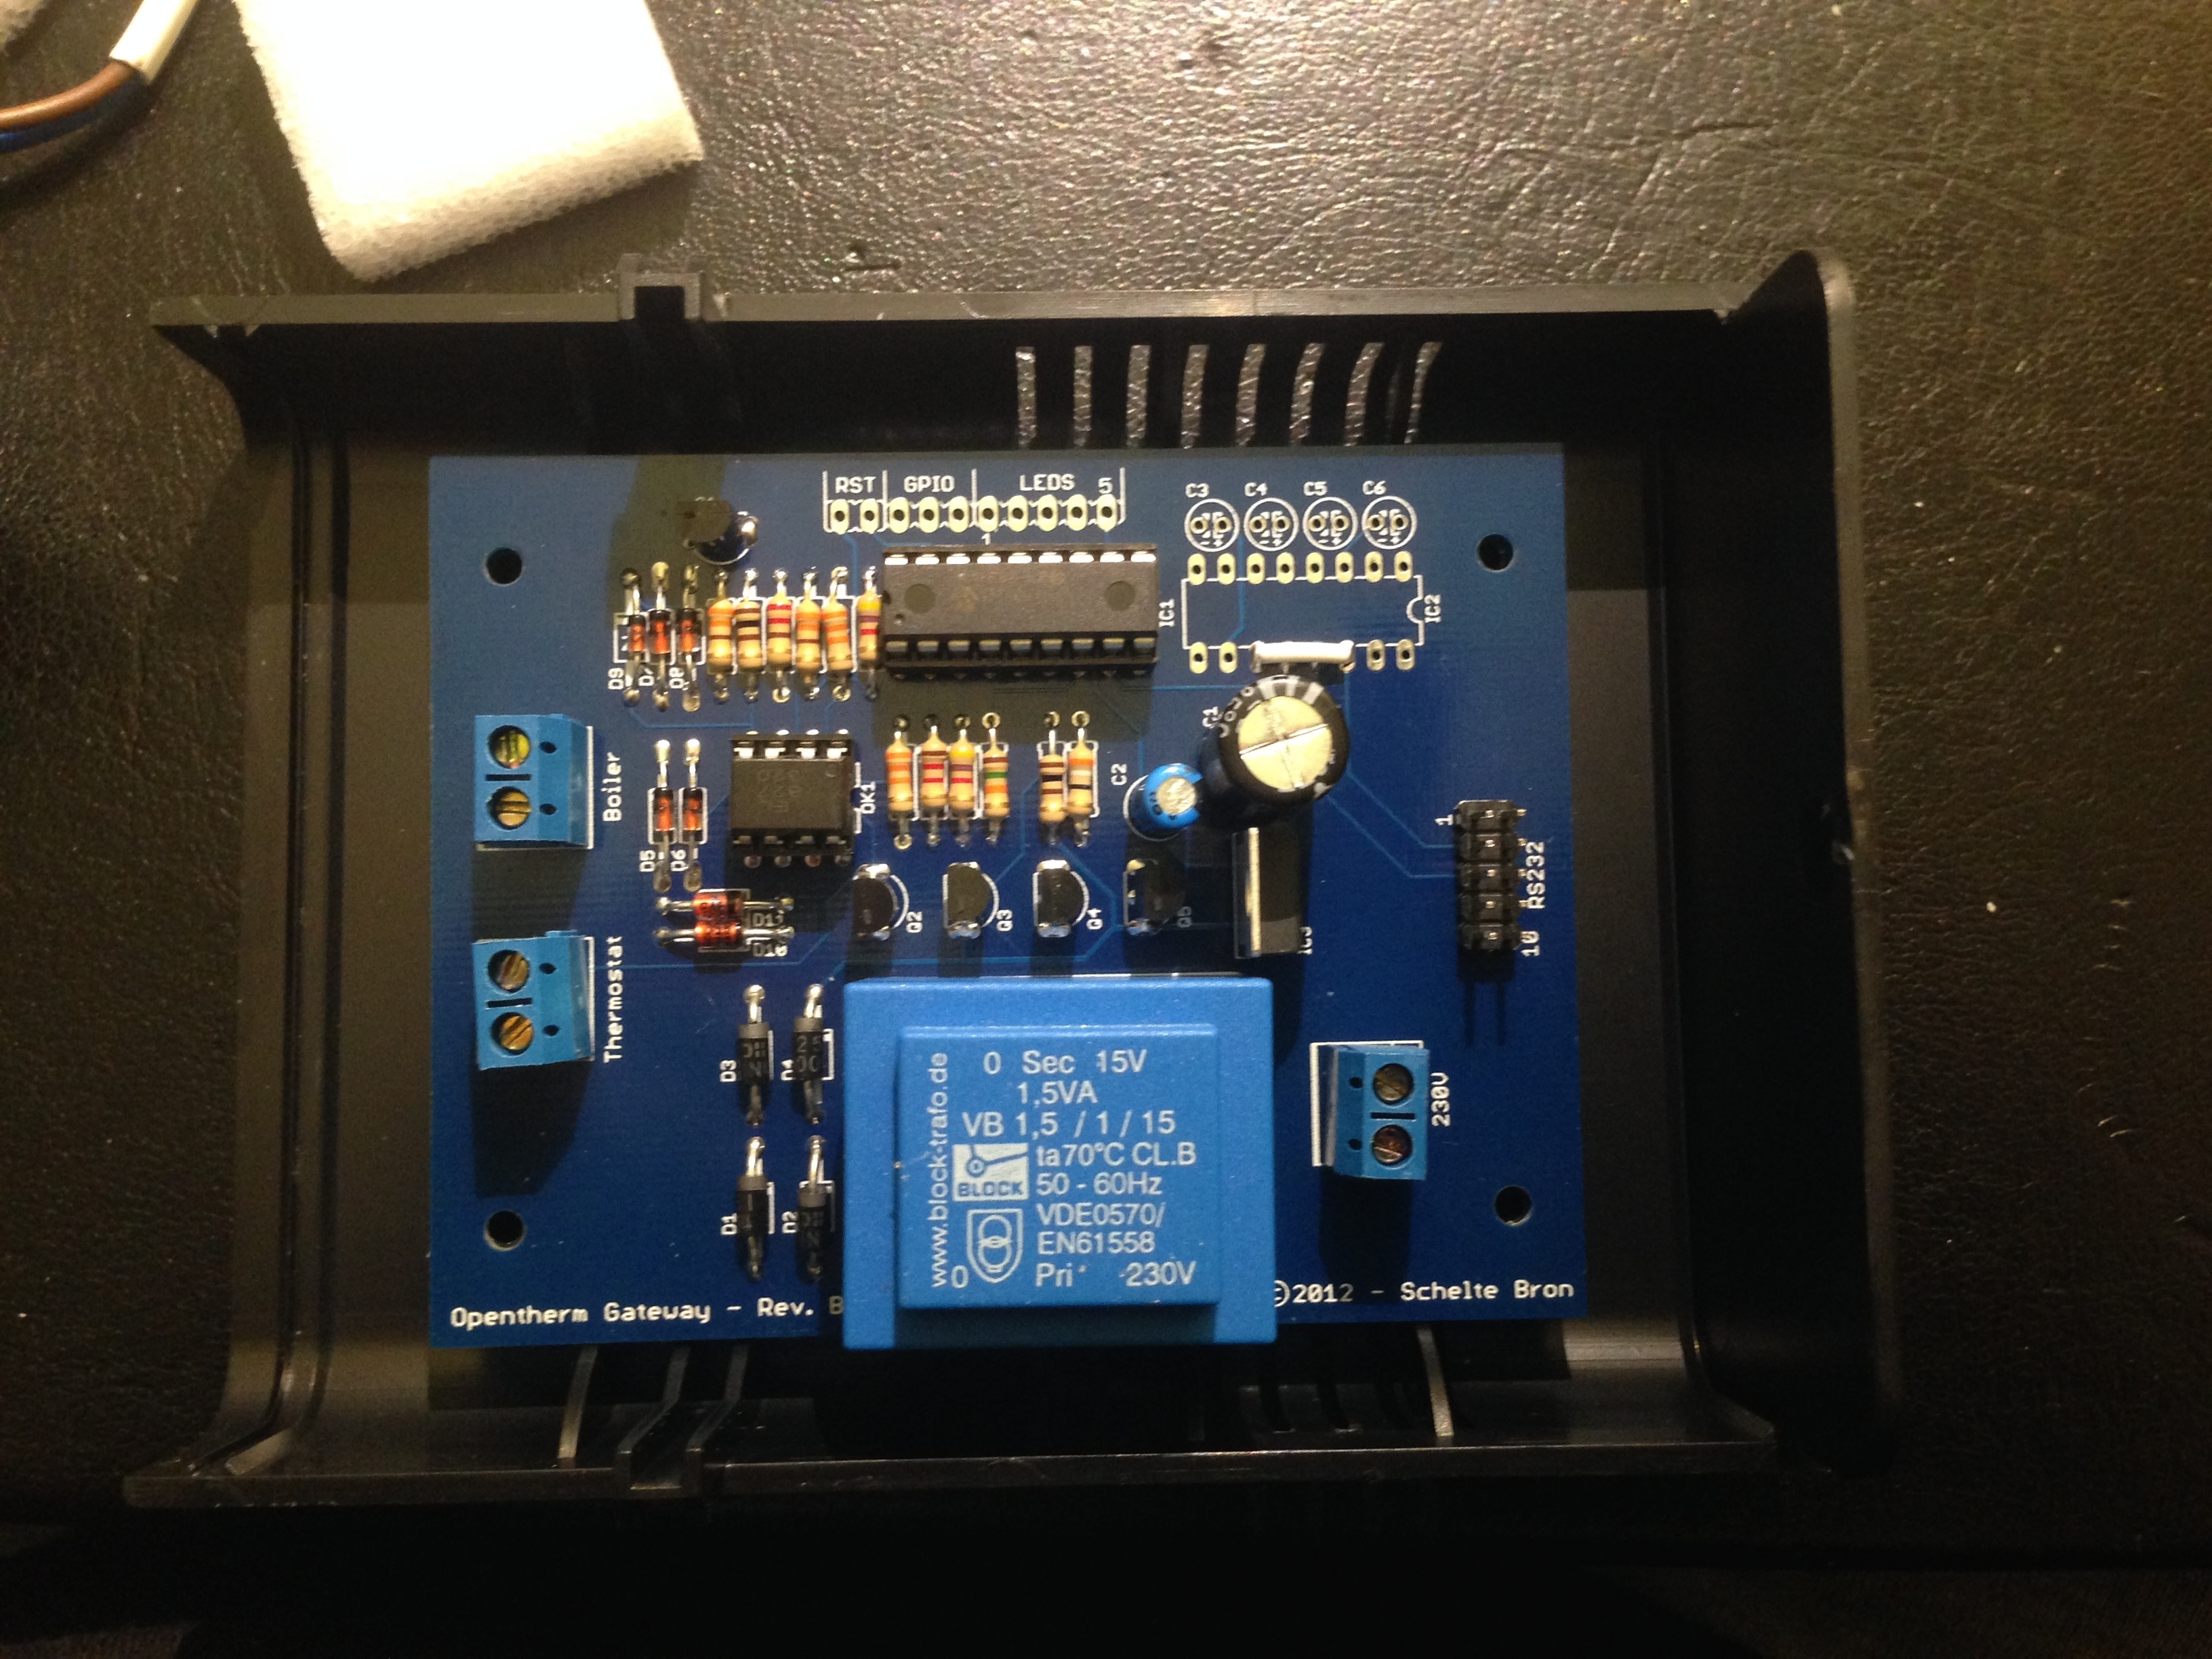
Next time, I’ll write about how to connect to the OpenTherm Gateway terminal and fetch data from it with a Raspberry Pi